Are you sure this is July? This has been the weirdest year for weather I can remember. Days of steady rain more normal for April or October have us stuck in the house. Since we don’t have cable and I hesitate to turn on a movie (again) I’m delving into my treasure trove of sensory play activities to keep us entertained. Here’s a collection from the past few weeks:

Water beads plus measuring scoops and a ladle (buried in the beads)
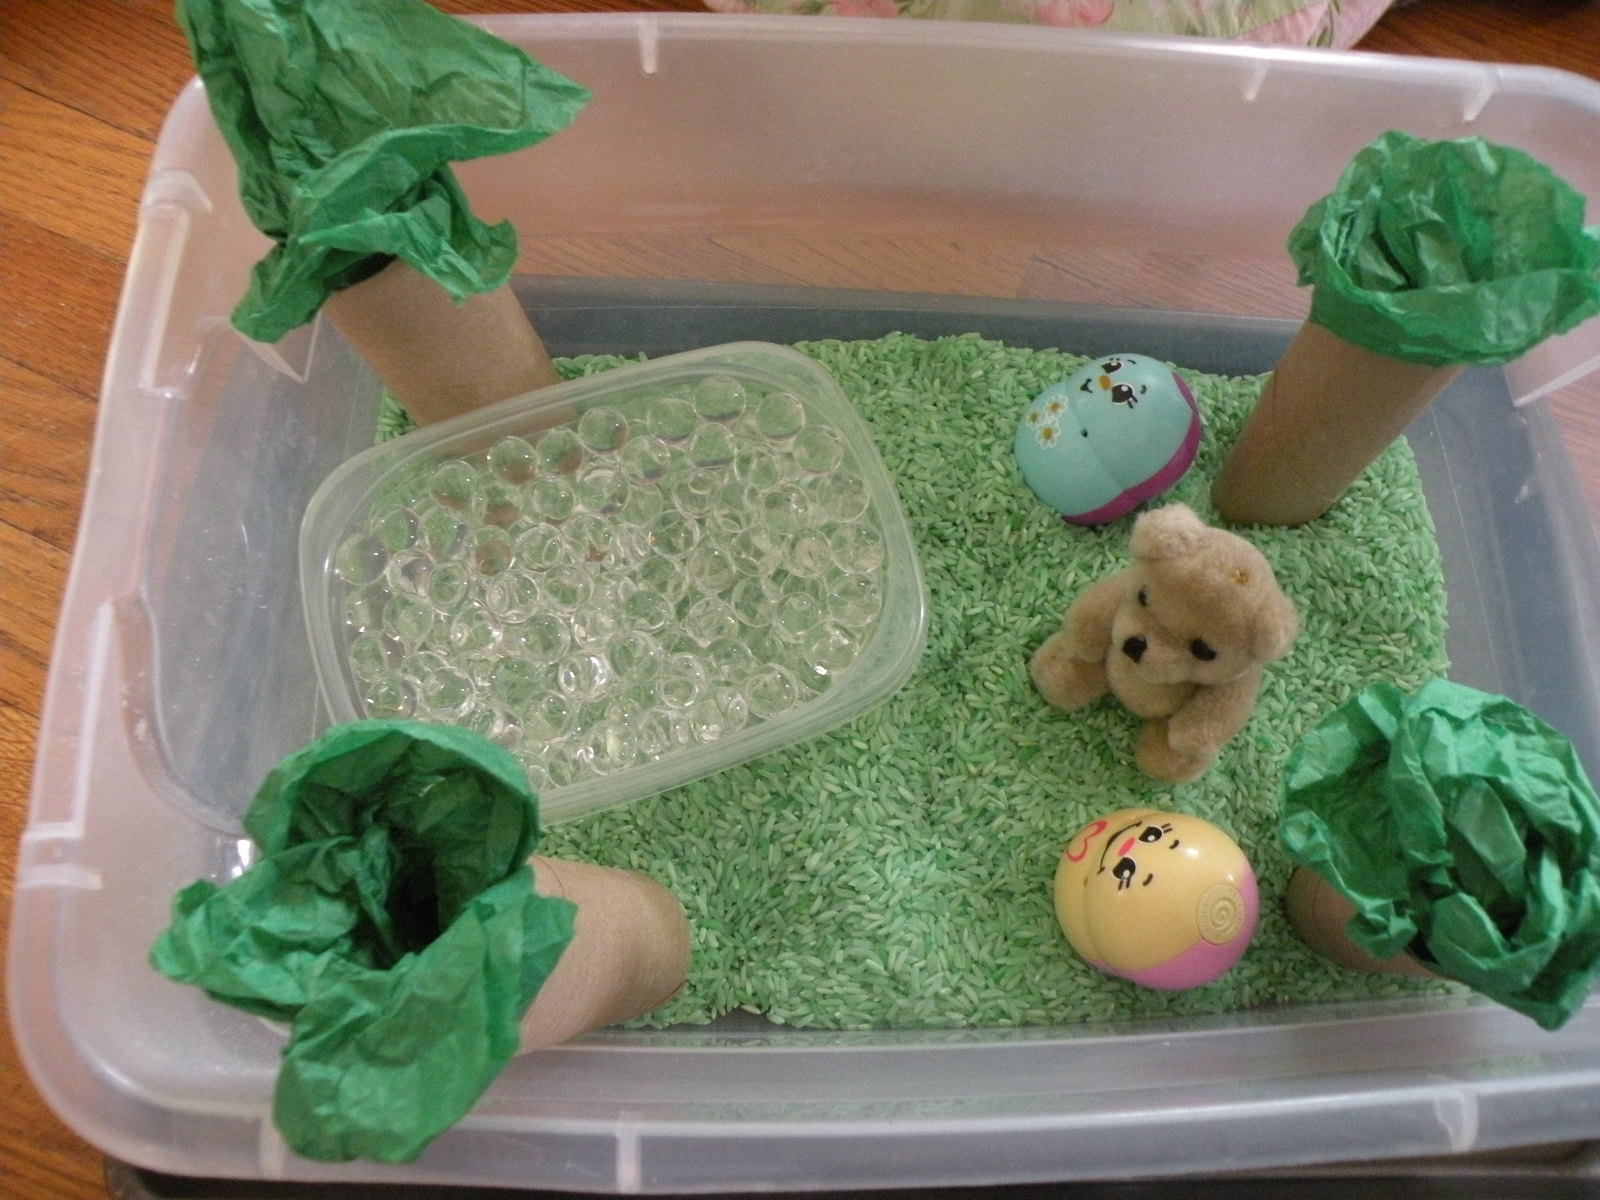
A “Small World Play” with toilet paper tube trees, a water bead lake, green rice, a bear and some people
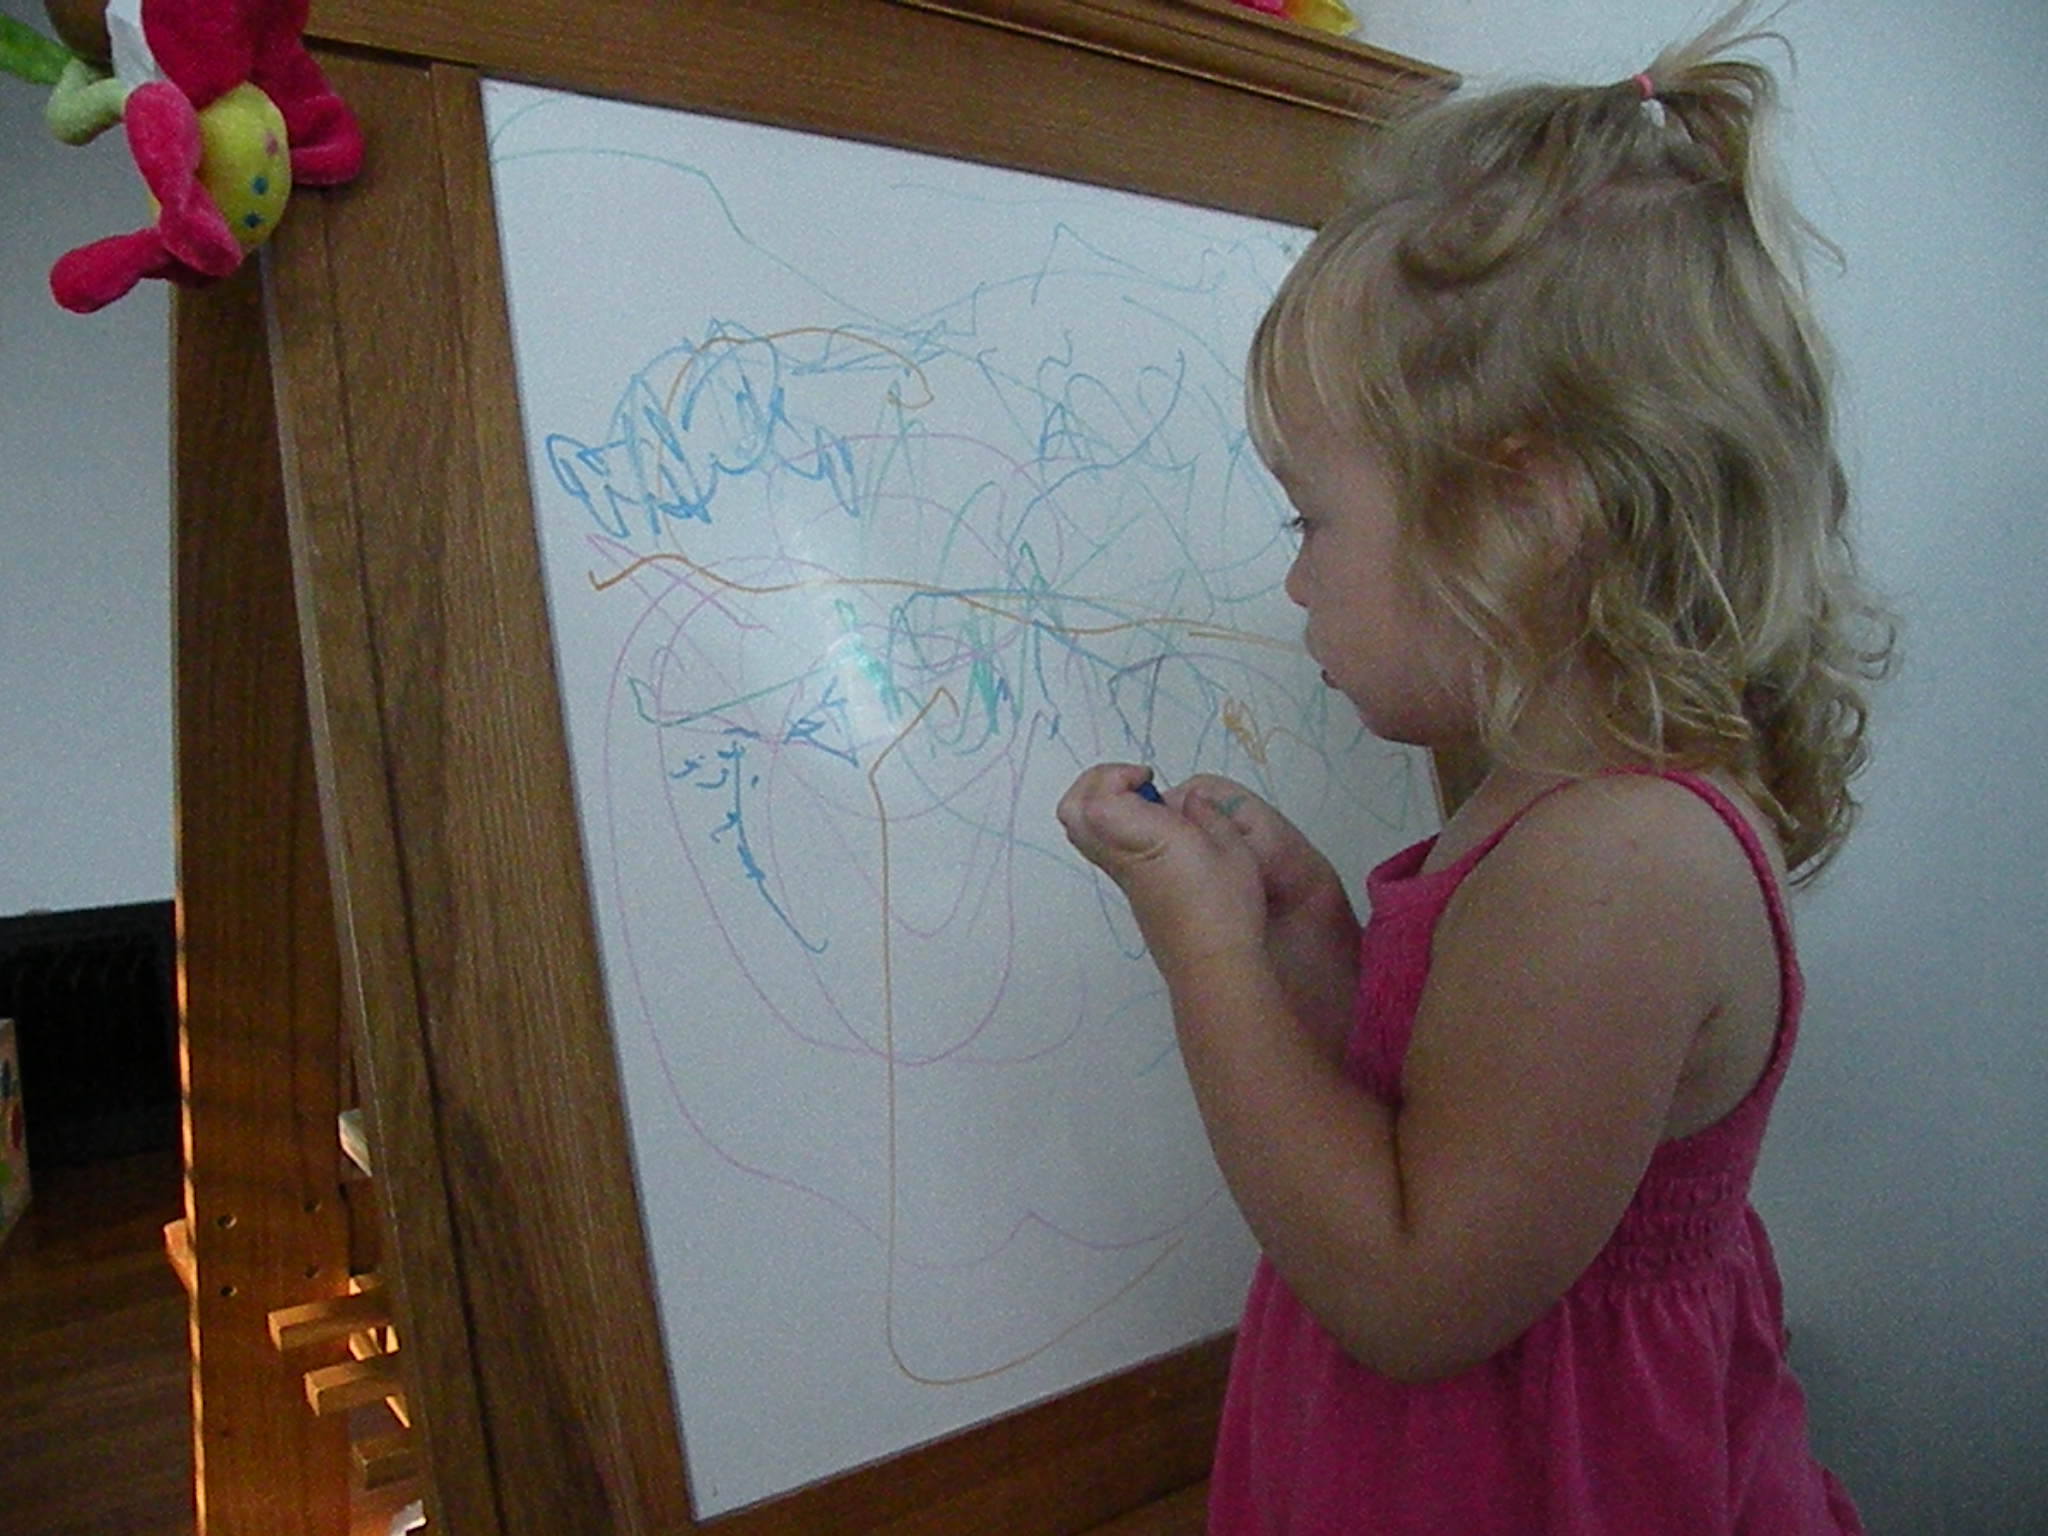
White board and markers – she wrote me a story

Washing dishes at the water table in between rain storms
Then we got brave and made some new-to-us play mediums I’ve seen floating around Pinterest for a while.

First we made cloud dough. It’s a silky soft dough that you can shape and mold like wet sand, except it feels better. It’s similar in some ways to that “Moon Sand” that was popular when I was a kid. I used 6c all purpose flour and a little under 1c baby oil. I just dumped them in the bin and let Grace mix to her heart’s content. As she played I added a little salt for texture and some glitter for sparkle. A few kitchen tools gave her things to scoop, shape, dump and fill.
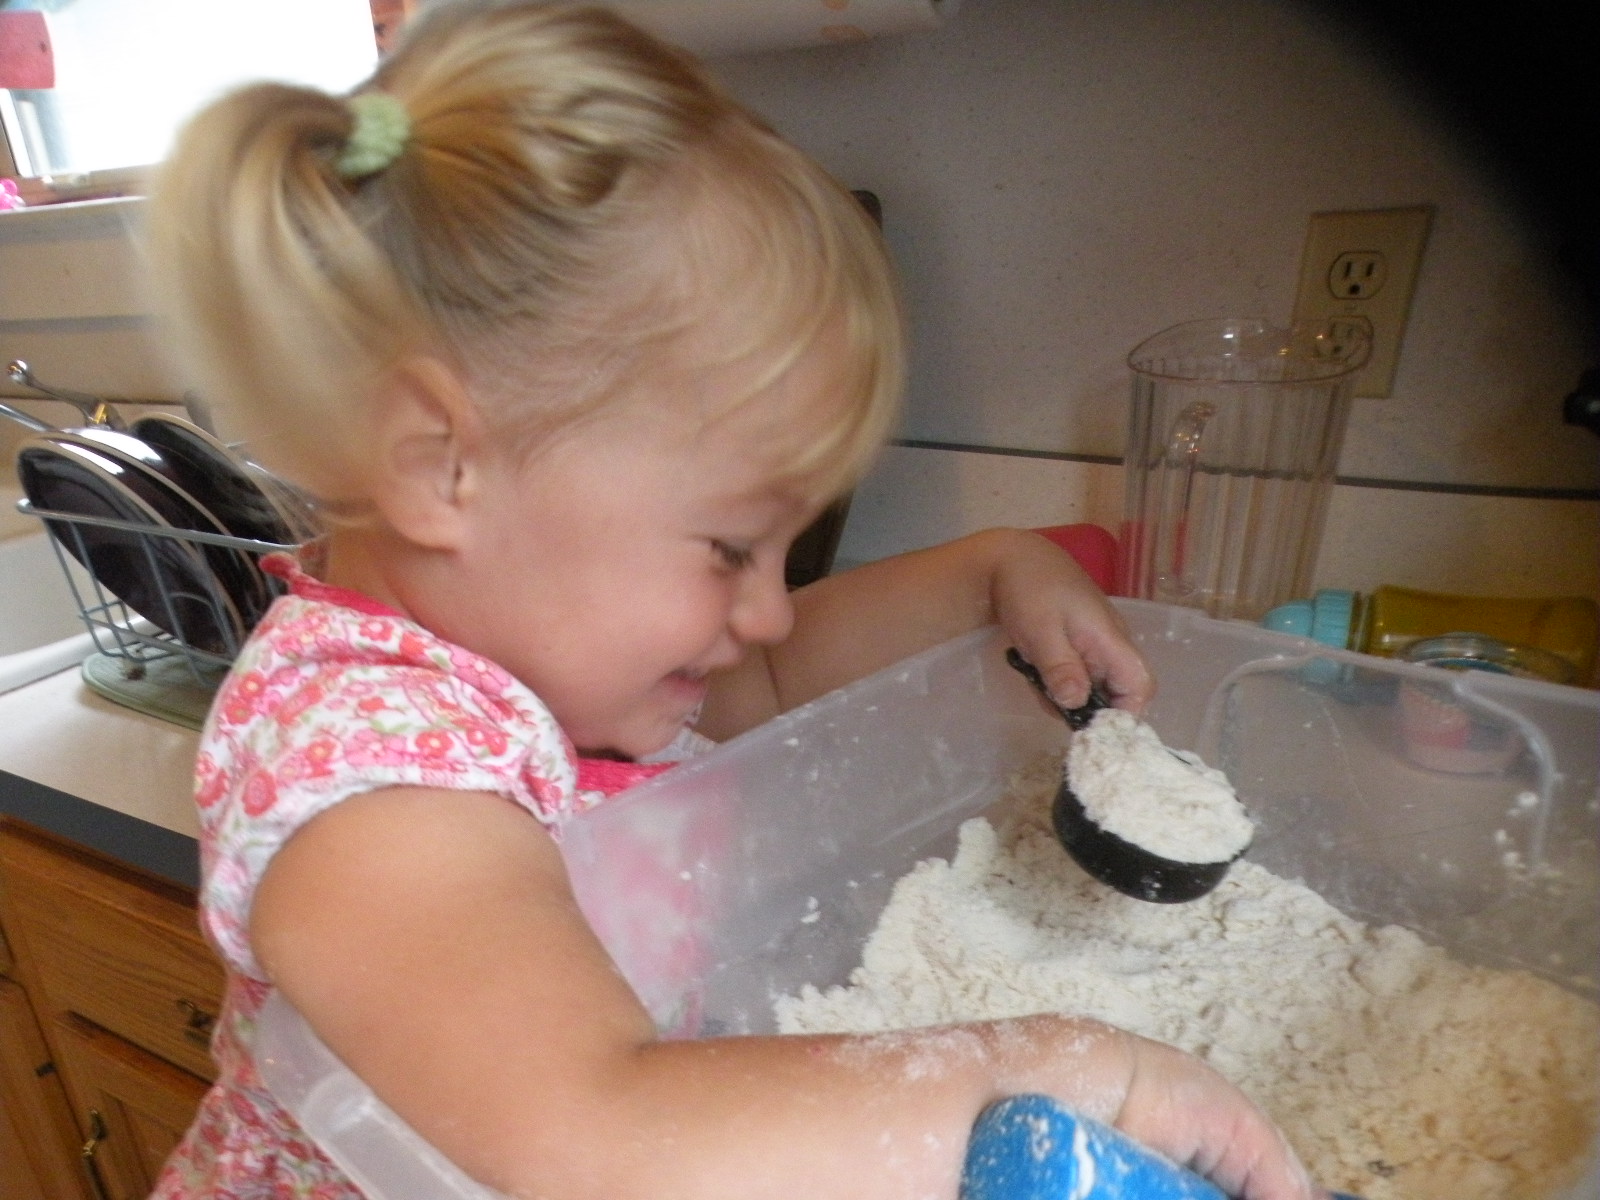
She absolutely loved it 🙂 I’ve heard this will keep indefinitely, since there’s nothing in it that could spoil.
Then today I made a colored salt writing tray. This idea keeps popping up on one of my favorite blogs, The Imagination Tree. We made sort-of-purple salt with anther generous shake of glitter. Here’s one post on the idea. I left out the essential oil since I don’t have any except Tea Tree – wonderfully useful, not wonderful for smelling.

Grace isn’t writing yet, but we did practice some shapes in between free playing:

Rainbow

Circle (ish)
This is another that should keep indefinitely. But even if it doesn’t, these are super cheap to mix up another batch. I think the salt tray has about $0.25 worth of material. That half hour of complete focus was worth every penny and more!
Do you have a favorite sensory activity when the weather keeps you inside? I’m always looking for more!