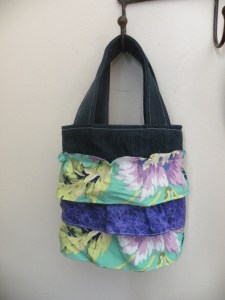
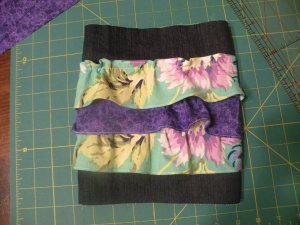
When there’s 5″ of snow on the ground and an upcoming birthday party, my first thought is “What can I make with what’s already in the house?” After a quick poll of some internet friends, the obvious choice was a pretty little bag. Every little girl I’ve met loves sorting through purses, dragging them behind her and filling them with oodles of treasures. Here’s what I came up with:
My rendition is dark denim for the base plus an Amy Butler cut for ruffles and a purple sparkle for one ruffle and the lining. But I can picture this is so many different designs! Denim with stripes and polka dots… white eyelet… or even ombre (super trendy!). You can also expand the bag to make it bigger – it’s currently only 6x7x2.
Here’s what you need to replicate the look:
- This fantastic mini tote bag tutorial from Shiny Happy World (and the supplies listed)
- Strip scraps for ruffles
- Basic sewing supplies
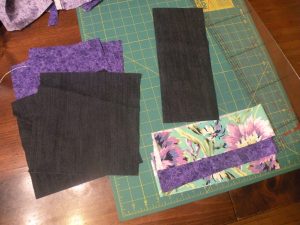
1. Cut all your pieces – 2 9″ squares of body fabric, 2 9″ squares of lining, 2 5×12″ strips for handles, and your ruffle strips – 3″ wide by however ruffly you want them to be. Mine are 22″ long and I would have been happier with more, tho this definitely has some nice ruffle to it.
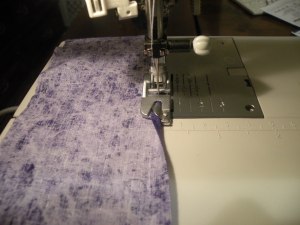
2. This is when you pull away from the other tutorial – you need to embellish the bag before sewing the bottom. Sew two opposite sides of the body right sides together to make a tube. Finish the edges of your ruffle strips however you want (I used a narrow edge foot. Other choices are turn and top stitch, a decorative stitch, pinking shears, zigzag… anything!) then sew them into tubes.
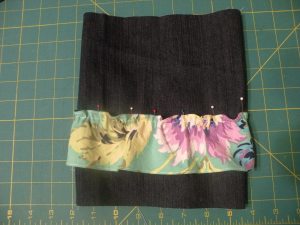
3. Lengthen your stitch as far as it can go and stitch a line of long stitches about 1/2″ from one edge of your ruffles. This is for gathering. You can gather them all at once if you want, but it’s important to sew them onto the bag one by one from the bottom up. Mark the body of the bag for ruffle placement – I marked at the top edge which as you’ll see is NOT the sewing line. Mark 4″, 5.5″, and 7″ from an open end. Slip the first ruffle onto the bag and line it up with the 4″ marks. Gather as needed by pulling the bobbin thread of the line you sewed. Stitch right next to your gathering line.
(If you’re wondering, I like that little 1/2″ edge on the ruffles a lot. It helps the ones above it stand out from the bag and gives a pretty look on the top ruffle. You can try more or less of an edge if you want a different look.)
4. Repeat with the middle ruffle (5.5″ marks) and then the top ruffle (7″). Once your ruffles are all attached, close up the bottom and pick up with Step 4 on the Shiny Happy World tutorial (making the bottom).
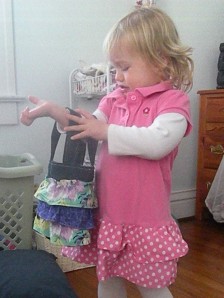
5. This is the fun step: Find a super cute toddler to model for you!
Super quick, super easy, super cute! I can’t wait to give it to our little friend at her birthday today! And then home to make another, because Grace didn’t want to give it up 😀
Happy Sewing!
